


Bambu Lab H3C
Bambu Lab H3C Tool Changer. Game Changer.
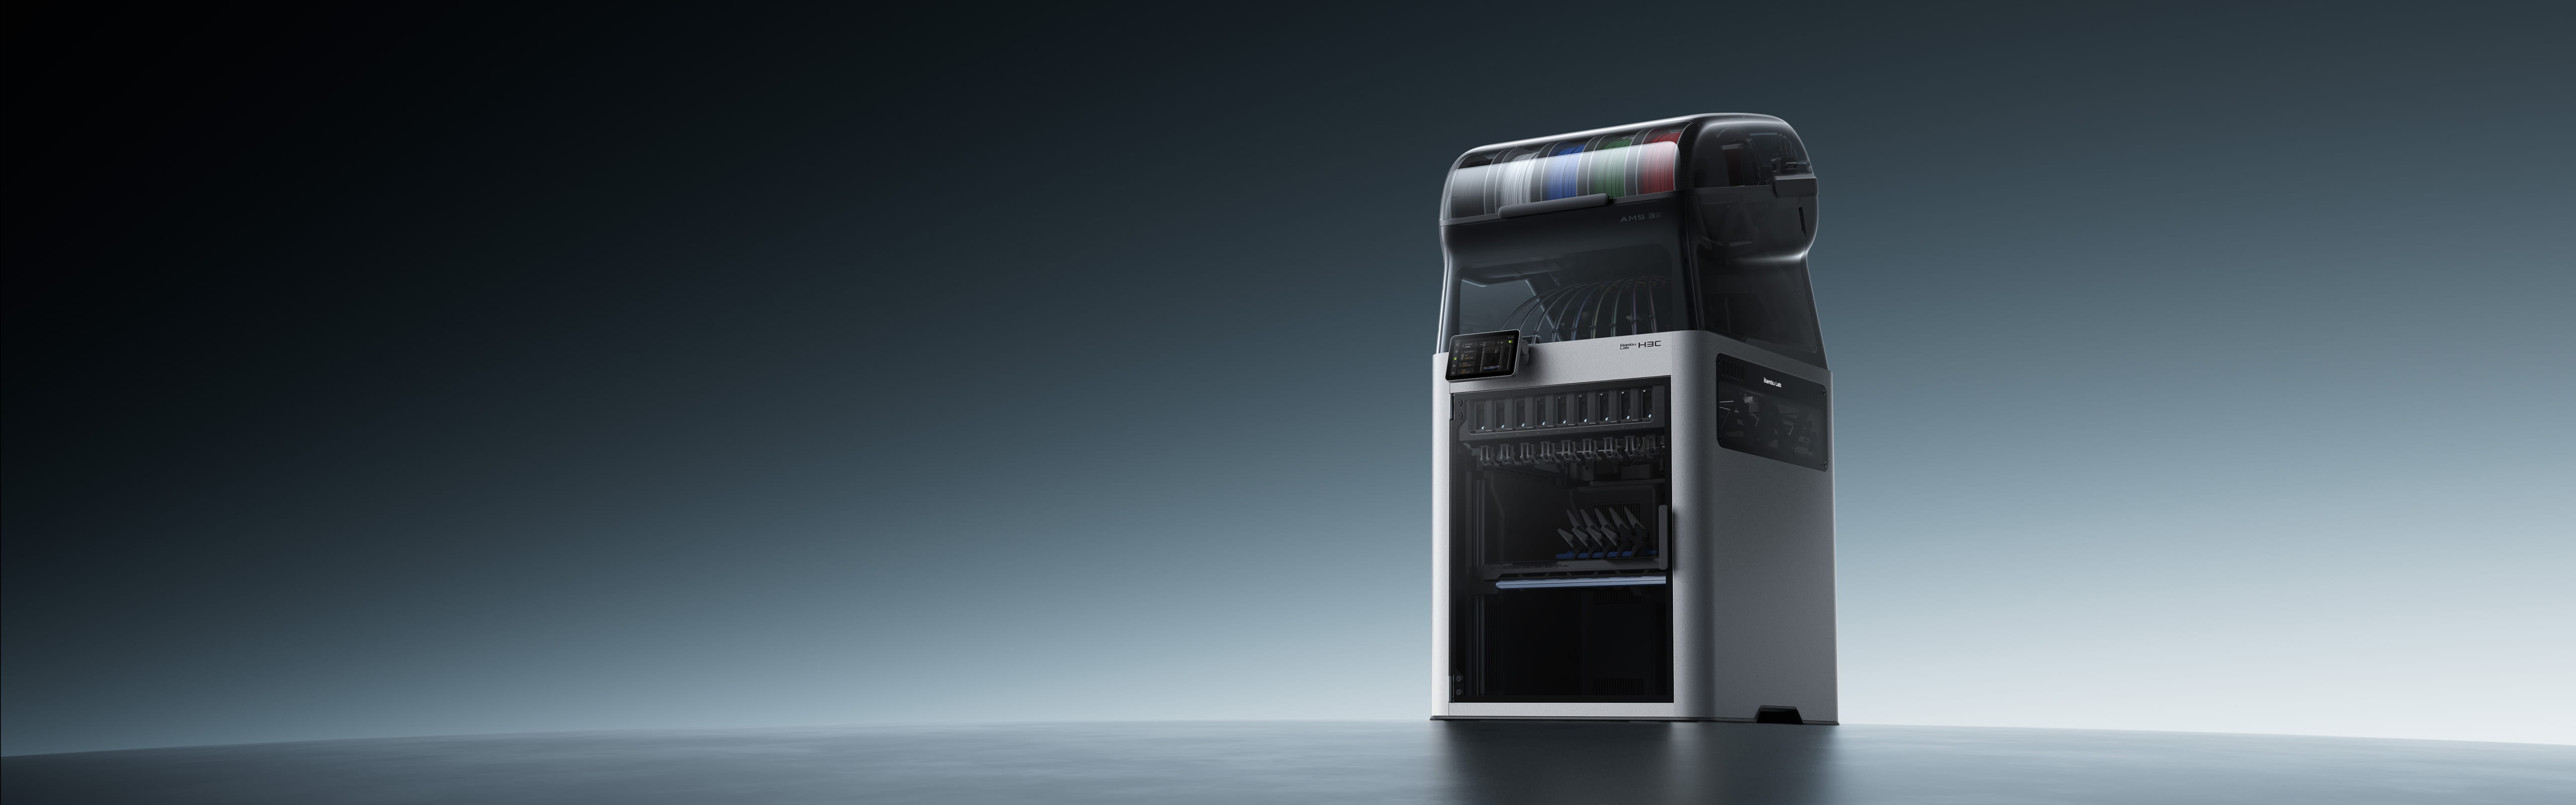
- 9-Material Printing: Nine independent paths, minimal purge per swap*.
- 6-Second Material Switching: Tools stay docked, loaded, and pre-heated.
- Ultra-Soft TPU Printing: Up to 5× the flow rate on flexible filament*.
- Fully Enclosed Filament System: Storage and feeding, automated entirely inside the machine.
- Automated Multi-Process Tool Switching*: Print, cut, draw, and deboss—hands-off.
- Mega Build Volume: 330 × 320 × 325 mm of usable space.
- Active Chamber Heating & Cooling: Engineering materials in, warping out.
-
Built-In Filament Drying: On-demand drying for PA, PC, and CF-filled materials.
- Cybersecurity compliant with EU RED Article 3.3(d)(e) and ETSI EN 303 645 V2.1.1:2020. Learn more.
Swaptek™ - 6-second print-to-print material switch
Nine PrintTools, each with its own dedicated filament path and heater, keep every material loaded, preheated, and ready to print. No need to retract one filament before loading another. With an optimized design, fine-tuned parameters, and active preheating, switching between PrintTools takes as little as 6 seconds.
Active Pre-Heat - Preheat the next nozzle before you need it.
Heating a nozzle usually means waiting. Active Pre-Heat looks ahead to the next tool change and warms the incoming nozzle while the current one is still printing—so the new material starts laying down within 6 seconds.
FlexFeed Extruder - Soft TPU, up to 3× faster*—without jams*.
Printing soft TPU has traditionally been slow because flexible filament can buckle before reaching the nozzle, limiting extrusion speed. FlexFeed supports both 1.75 mm and 2.85 mm filament, with dedicated 2.85 mm TPU providing greater resistance to buckling and higher volumetric flow. The result? Reliable printing with TPU as soft as 75A at up to 3× the flow rate of traditional printers.
Mixed Nozzle Sizes* - Speed where you want it. Detail where it matters.
The dial, case, and flexible TPU band are printed together as one piece. Fine dial details call for a 0.2 mm nozzle, the case is better suited to 0.4 mm, and the soft band requires a dedicated 0.4 mm TPU nozzle. H3C can carry different nozzle sizes at once. Paired with Bambu Studio’s new mixed-diameter toolpath planning algorithm, each nozzle prints at a layer height that suits it and plays to its strengths, without having to share a single layer height.
Retractable Rack - It's all about curiosity.
Watching a print come to life is part of the magic of 3D printing. That's why the rack retracts out of view, giving you a clear look inside the chamber. Pull up a chair, watch the first layer take shape, and enjoy the process. It's something that never gets old.
More Than 3D Printing (Optional) - Print. Cut. Draw. Deboss. All in one machine, all on its own.
Swaptek isn't limited to PrintTools. Optional CutTool, DrawTool, DebossTool—and more—mount the same way and switch automatically. Multi-process projects no longer mean multiple machines, manual swaps, or repeated setups. One job, every process, hands off.
AMS 3H - Filament Management Built for Tool Changer
A fully enclosed, integrated filament management system built for Swaptek™: every roll stays sealed against moisture and feeds automatically into the PrintTool. A built-in 2-slot dryer takes extra care of the most hygroscopic filaments—PA, PET, and TPU.
Auto Filament Loader - No guesswork on loading.
No more manual loading. Drop a filament into any of the nine slots and the AMS 3H detects, routes, and engages it with the PrintTool automatically—across all 9 paths.
Built-In Dryer - Drying, integrated into the print flow.
A dedicated 2-slot dryer sits right in the filament slots and works with Swaptek™—drying on demand or mid-print*, so prep never stalls production. It reaches 85°C*, enough for engineering-grade PA, PC, and carbon-fiber-filled filaments.
Auxiliary AMS* - Nine materials, with room for more.
Most toolchangers limit the number of materials to their available tools. The H3C goes further. Connect existing Bambu Lab AMS units through PrintTool No. 1 to support up to 24 filament spools, unlocking more colors and materials in a single print without changing your workflow. Already own an AMS? Simply connect it and expand your possibilities.
Integrated Design - Filament storage, built in. Not hanging off.
No spools hanging off the side, no dryer taking up valuable workspace. The H3C integrates filament storage and drying into a clean, compact design, maintaining a footprint comparable to a single-nozzle printer. No external racks or exposed filament paths. Just one streamlined, all-in-one printing solution.
Flagship Performance. No Compromise.
Behind the H3C's advanced multi-material capabilities is a foundation engineered for precision and performance. Cross-flow cooling delivers cleaner overhangs, a 65°C heated chamber helps minimize warping with engineering-grade materials, and an advanced motion system maintains fine detail even at high speeds. Complex prints demand more from your printer. The H3C is built to deliver.
Motion System Upgrade - Lighter head. Faster prints. Same precision.
The toolhead and X-axis assembly are 40% lighter*, reducing inertia for faster, more precise movement. With acceleration reaching 25,000 mm/s and travel speeds up to 1,400 mm/s, the H3C delivers exceptional speed while minimizing vibrations and ringing that can affect print quality.
Vision Encoder (Optional) - 50 μm motion accuracy. Held for years, not weeks.
For projects where precision matters, from engineering components to production runs, the optional Vision Encoder helps maintain accuracy over time. By providing an absolute optical reference, it enables recalibration to compensate for mechanical wear and drift, restoring motion accuracy to under 50 μm across the build volume. Precision you can rely on, print after print.
Cross-Flow Cooling - Cooled at every level. Print clean, even in summer.
Effective cooling is essential for consistent print quality. That's why the H3C features four layers of cooling working together. A CFD-optimized part cooling fan and dual auxiliary fans help maintain clean overhangs and bridges, even at high speeds. A dedicated PrintTool fan maintains thermal stability during extended printing and frequent PrintTool changes, while a chamber fan draws in cooler air to help regulate internal temperatures*. Together, these systems deliver consistent cooling and reliable print quality across changing ambient temperatures.
350°C Nozzle & Active Chamber Heating - Engineered for High Temperatures, From Nozzle to Chamber.
Engineering-grade filaments demand precise temperature control. The H3C delivers with active dual-zone chamber heating up to 65°C, helping maintain consistent temperatures and minimize warping. All nine hardened-steel nozzles reach up to 350°C, supporting demanding materials such as ABS, PC, PA-CF, PET-CF, and more.
More Time Making. Less Time Tinkering.
The H3C packs advanced technology into a surprisingly simple experience. Automation handles routine tasks, while AI helps make intelligent adjustments along the way. Whether you've been 3D printing for ten years or just ten minutes, the H3C makes it easy to focus on what matters most: bringing your ideas to life.
Full-Auto Calibration - Nine tools, calibrated automatically—every time.
With nine PrintTools working together, precision is essential. The H3C automatically handles PrintTool docking calibration, offset compensation for accurate color and material alignment, and bed leveling before every print. No manual adjustments needed.
AI Monitoring - It watches, so you don't have to.
A full array of vision systems* watches from before the first layer to the last. Up front, the H3C checks the chamber against your slicer setup and flags mismatches while they're easy to fix. Then its AI catches spaghetti, purge-bin jams, and clogs before they cascade. Check in whenever you like.
All-New HMS with MiniWiki - Find the fix, right on your screen.
The new HMS doesn't just throw an error code at you. It diagnoses the actual cause—narrowing it down, ranking the possibilities, and explaining what each one means in plain language. You see what's wrong, not what might be.Then MiniWiki walks you through the fix, right on the printer's screen. No QR codes. No phones. No flipping between the machine and a help page. Read the step. Do the step. Move on. Most issues resolved before your coffee gets cold.
Specs
Notes:
1) For Bambu Lab filament, the initial weight can be read automatically through RFID or entered manually. For third-party filament, enter the initial weight manually.
2) The printer's voltage specifications vary by sales region. Before use, please check the label next to the power socket on the printer to ensure the supplied voltage matches the indicated voltage.
3) To quickly heat the heatbed to the required temperature, the printer will run at maximum power for about 3–5 minutes.
4) If the circuit has limited power capacity, you can enable Low Power Mode. After it is enabled, the total energy use remains unchanged, and the heatbed and chamber will heat up more slowly.
FAQ
1. What are the dimensions, weight, and maximum build volume of the H3C AMS Combo?The H3C ships in packaging measuring 600 × 630 × 700 mm and weighing 36.8 kg; the AMS 3H ships in packaging measuring 550 × 615 × 500 mm and weighing 11.9 kg.Unpacked, the H3C measures 493 × 571 × 587 mm and the AMS 3H measures 480 × 562 × 460 mm. Assembled together, the combo stands 493 × 571 × 1016 mm, with a net weight of 36.28 kg including the AMS 3H.The maximum build volume is 330 × 320 × 325 mm.
2. How much clearance should I leave around the H3C AMS Combo?
3. How much space do I need when using the H3C AMS Combo with the Bambu Station L?
When the printer sits on the Station L, allow 593 × 1056 × 1900 mm.
4. Which accessories or filaments should I buy with the printer?
The H3C Combo already includes everything needed for full FDM 3D printing — the 2.85 mm PrintTool, a textured PEI plate, and more. If you only plan to 3D print, no additional accessories are required beyond filament.
5. Are the nozzles really hardened steel?
Yes. Every H3C nozzle — from 0.2 mm through 0.8 mm — is made from fully hardened steel, HRC 55+, built to withstand abrasive filaments such as carbon fiber, glass fiber, and other composites.
6. What's the difference between the 1.75 mm and 2.85 mm PrintTools?
7. Which slot is the 2.85 mm PrintTool pre-installed in, and why?
8. Can the 2.85 mm PrintTool only print TPU?
The 2.85 mm PrintTool (hotend) is for 2.85 mm flexible filaments only. Bambu Studio currently includes two presets: Bambu TPU 75A (2.85 mm) and Generic TPU (2.85 mm).
9. Right now the only 2.85 mm filament available is 75A TPU. Are more coming?
10. Why does the AMS 3H only have 2 drying slots?
11. Why do only some of the nine slots have a filament bypass feed?
Slots 1, 3, 5, 6, 7, 8, and 9 have bypass feed. Slots 2 and 4 have a circuit board cover on the back that blocks the port outlet, so bypass feed isn't supported on those two.
12. How many external AMS units can I connect, and how?
13. Can I use the cutting and drawing functions without the optional BirdsEye camera?
Yes — both work normally. Without the BirdsEye Camera you can't take alignment photos directly in Bambu Suite, but you can complete alignment by taking photos with Bambu Handy. For a smoother surface-processing workflow, the BirdsEye camera is recommended.